

by Ashley
There’s less than a week until Valentine’s Day! But it’s not too late to make your own Valentine to send out to friends and family! I recently did a fun Valentine’s Day craft with our girls that I wanted to share here. The cost was $0 out of pocket since I already had all of the supplies on hand. This is a great craft project for young kids (mine are 2.5 years, but this could work for older kids too). If you need a craft for even younger kids, check out the one I did for Mother’s Day last year (or, just for fun, see last year’s Easter craft here).
Step 1: Let them paint!

Ha! That face cracks me up!
My girls got this super fancy-pants art easel for Christmas from their Grandma. So step one was to let them paint! Note, you definitely do not need a fancy art easel to accomplish this goal (see last year’s Easter craft where the girls simply painted at their little pink table). Before moving on to step 2, you need to let the paint fully dry. I did the craft right before naps, so the paintings were dry by the time they woke up. That worked well (though you could also make this into a multi-day event, doing the painting in the evening and moving on to step 2 the following day).
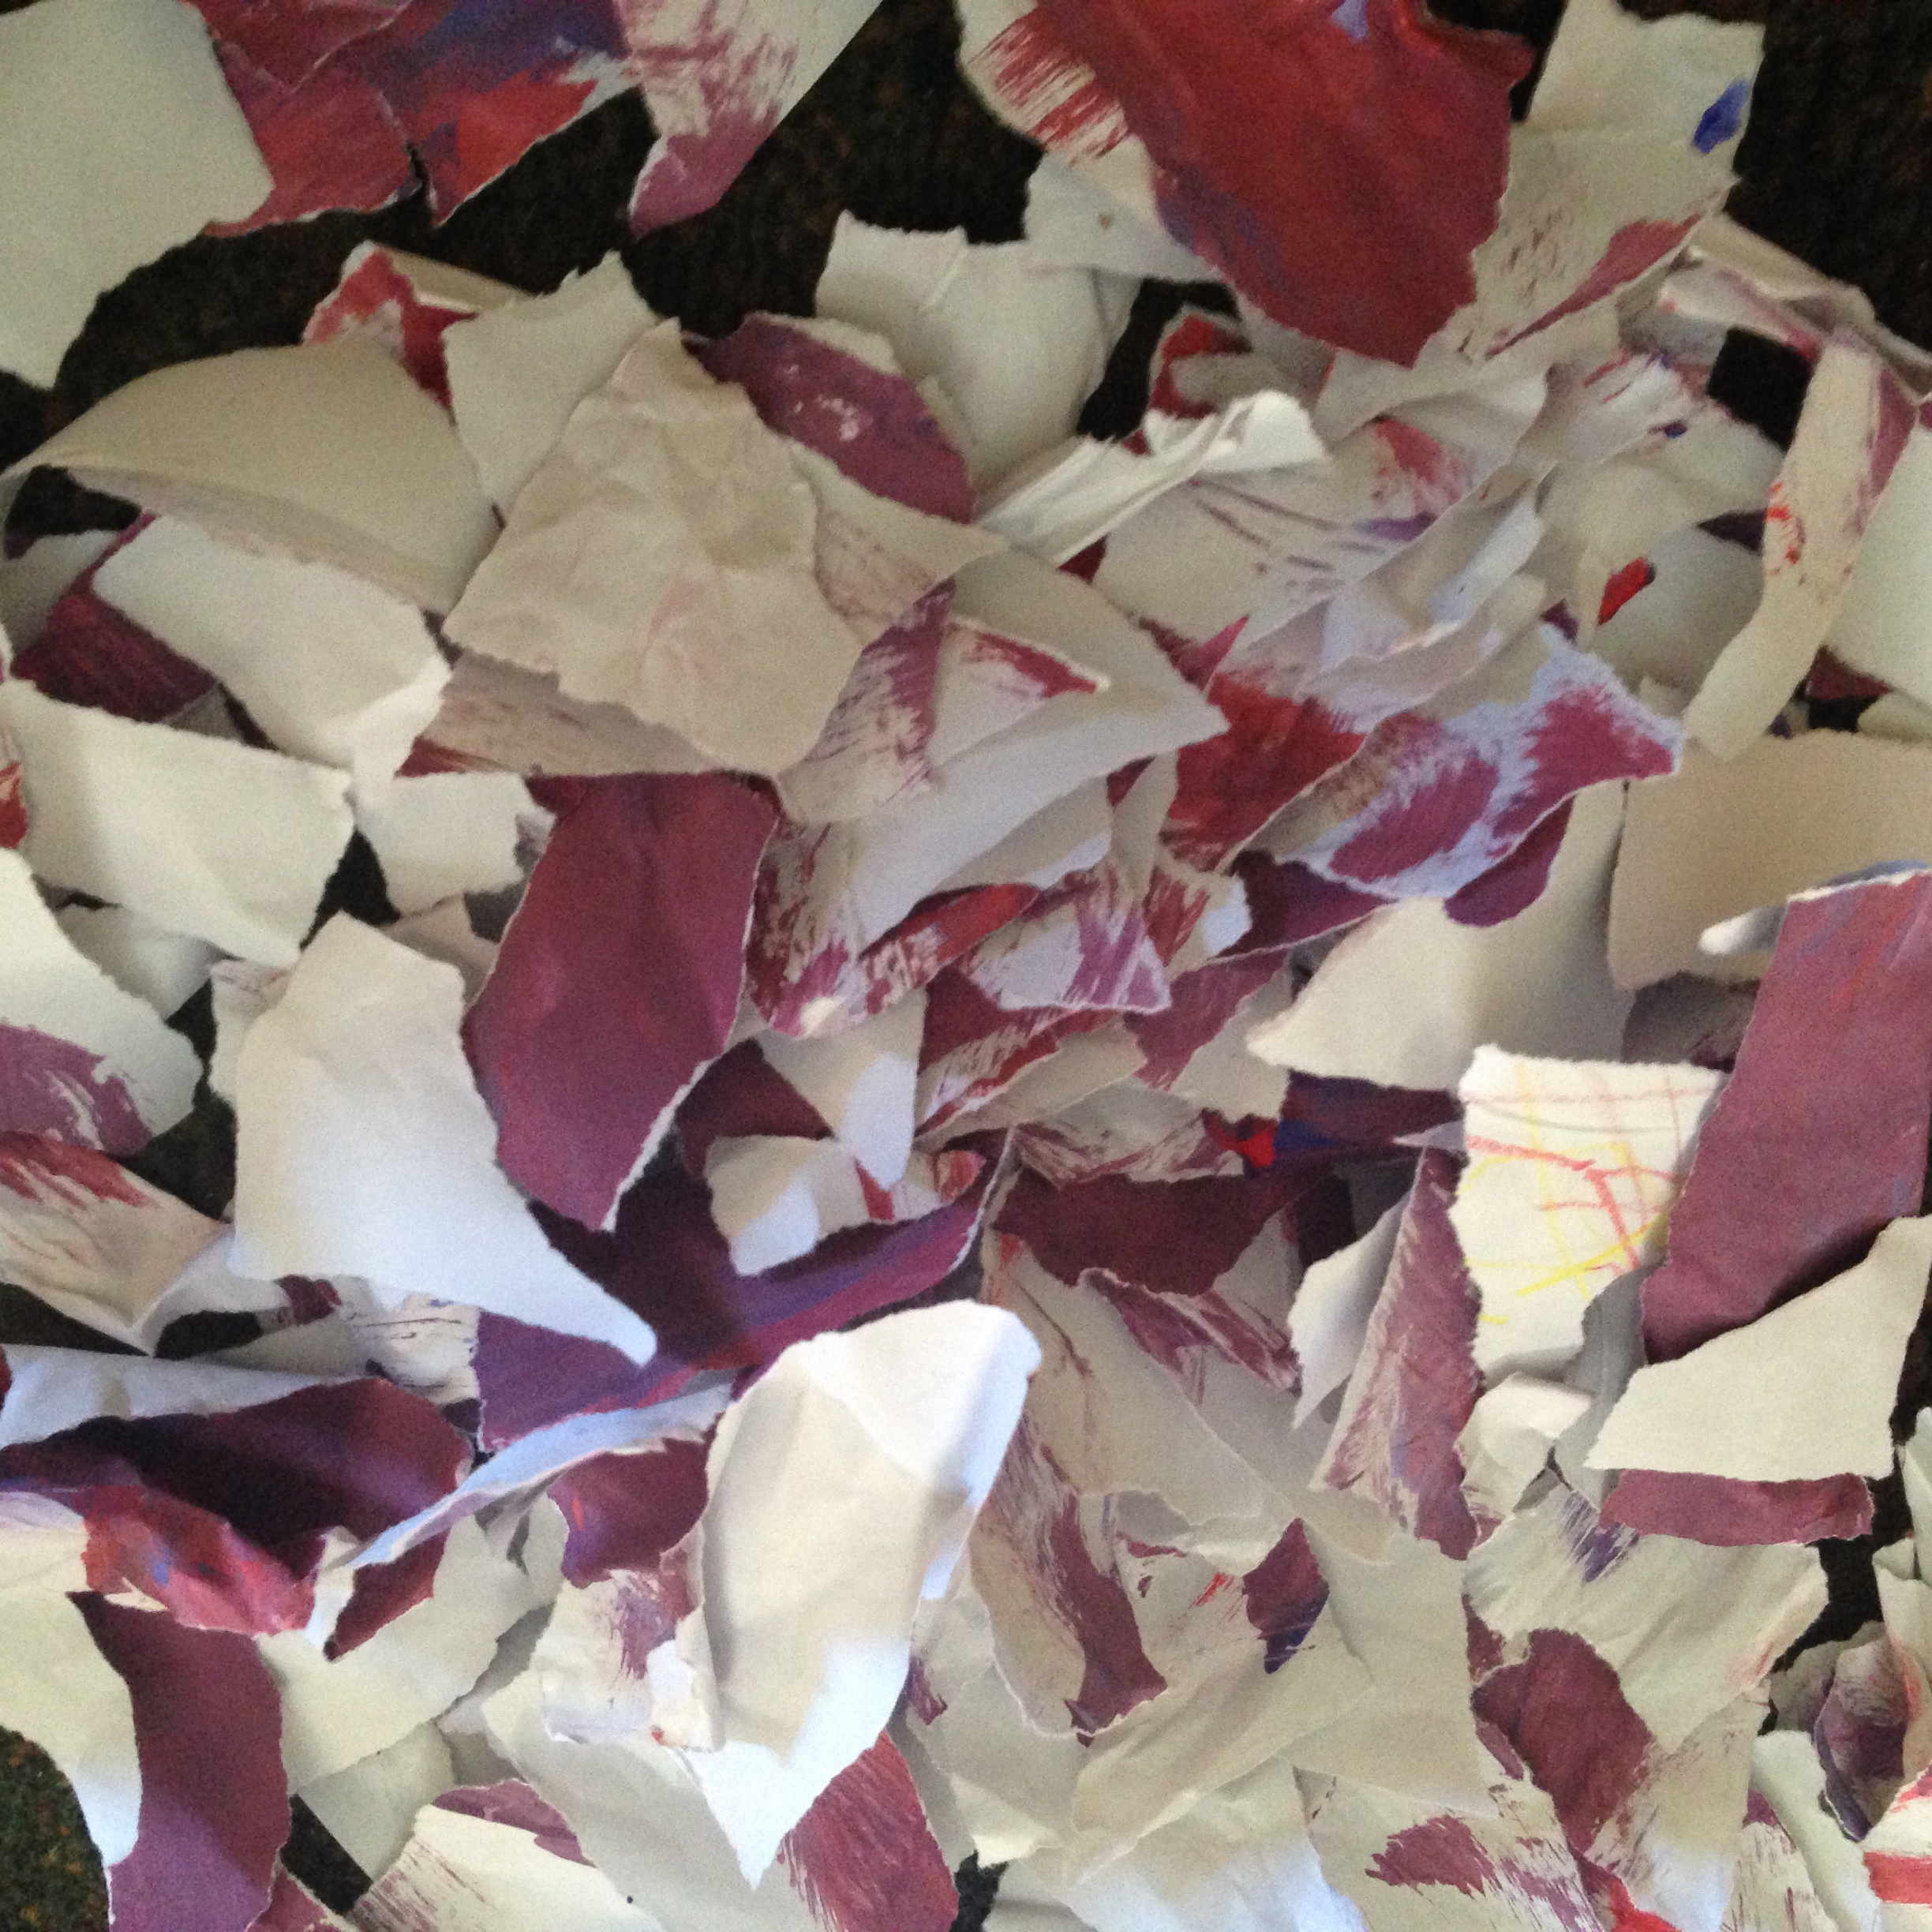
Step 2: Tear up the art!
I got the girls involved and, I swear, this was probably their favorite part of the entire process! We tore up the paintings into a million little pieces, like so…
Step 3: Prepare the Cards
I prepared my card while the girls were playing with the tiny scraps of paper, but in hindsight it may have been easier to do this part while the girls were napping. I just took 2 sheets of paper (a solid pink sheet and a purple patterned sheet). First, I cut the pink sheets down to size to fit into our envelopes (I have 5.75″ x 8.75″ envelopes, so they’re larger than normal letter-sized envelopes). To do so, I simply folded the pink sheet in half (like a hamburger, not a hot dog) and cut along the seam. Then I folded in half again to cut out a heart. Then I glued the pink sheet (with the heart-shaped hole now cut out) onto the purple patterned paper. I didn’t take pictures of this part, but my thinking in having the patterned paper in back is that (1) I wanted to have a full, solid sheet on the back so I could write a little note, and (2) the pretty pattern was nice to have so that if there were any gaps in the project there would still be a pretty background.
Step 4: Glue on the art scraps
During this phase I helped the girls work with glue sticks to glue scraps of paper onto the heart. To be totally honest, they’re still probably a little young for this type of craft. They did a great job with gluing onto the center of the heart, but I ended up helping to round out the heart edges with additional paper scraps and they lost interest after about 2 hearts (we had 7 to do in total), so…yeah. Some of them were just done by yours truly. After the papers were glued and dried, I wrote the message on each of the valentines: “Happy Valentine’s Day! I love you to pieces!” Then I wrote a longer, more personal message on the back of each Valentine.
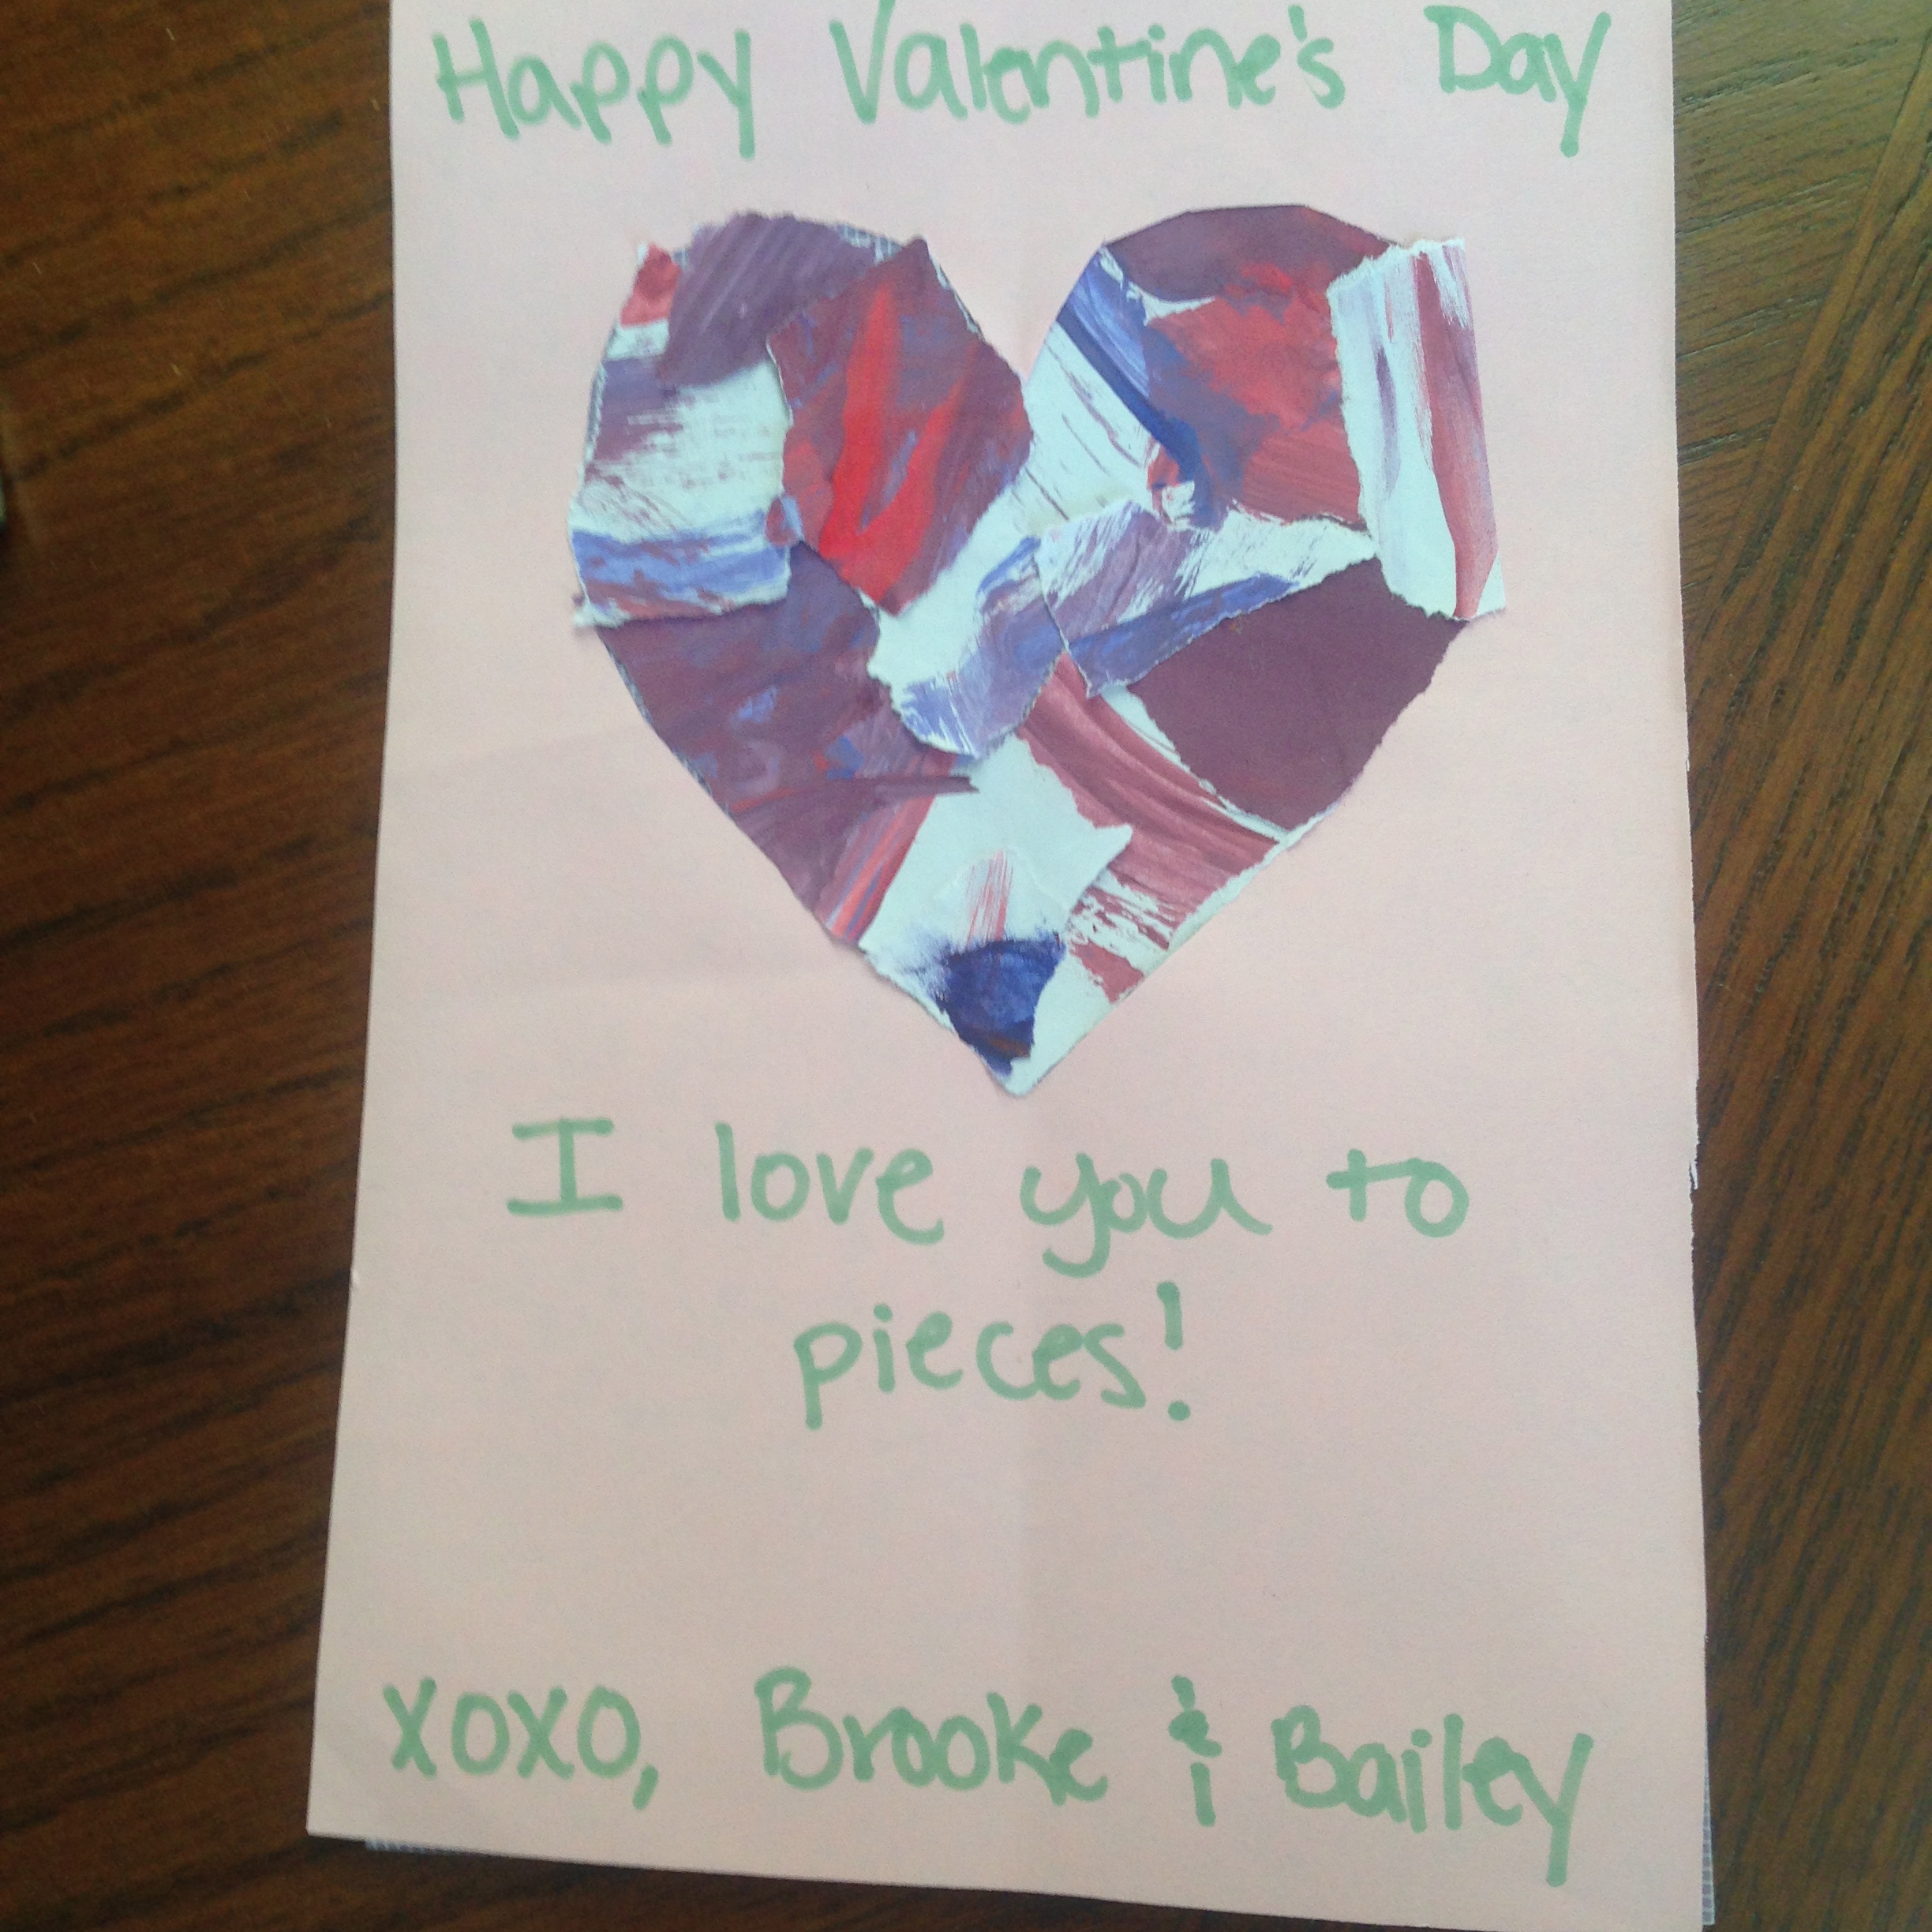
And that’s it! So simple and easy!
I also took pictures of the girls at each phase of the project (painting, tearing the art, and gluing), so I’m going to include a couple of photos along with each valentine to give it a personal touch and let each recipient know that these were personally hand-made with love by our little girls.
I started doing these types of kid-crafts in lieu of sending actual gifts to people about a year ago (right around the time I started blogging), and it has made such a difference! Not only does it cost less than sending “real” gifts (this project, for example, will only cost postage and 10 cents/picture…I haven’t printed pics yet, but probably $3-4 total for 7 gifts), BUT I also find that the recipients enjoy them so much more! I was floored when I went to my Grandma-in-law’s house around Christmas time this year to find that she had actually FRAMED our valentine’s craft from last year. That was before I started blogging, so sorry I don’t have a link but here’s a picture of the finished product (not the framed one).

See a theme here? I do a lot of paint-related craft projects that I then cut up and fit into different shapes, assembling them nicely.
Seeing the craft framed so nicely on my grandma-in-law’s wall, it really looked like true art and not just a silly craft project made by a 2-year-old. Plus, it really made me realize just how much the art project was appreciated. If I’d sent an actual gift, it would have long since been forgotten, thrown out, or consumed (assuming I sent chocolate or something edible). But even though I know the fate of these art projects is eventually the trash (letsbereal), I think people really appreciate the thought and sentiment of a homemade gift.
So there you have it! If you have kids and haven’t come up with anything to send to relatives yet, why not do a fun little craft like this??? It’s good for young kids (practice manual dexterity, expressiveness, foster different talents and skills), but it’s good for the recipients as well. : )
Do you have any Valentine’s Day plans? Do you usually send Valentine’s gifts to anyone?

Hi, I’m Ashley! Arizonan on paper, Texan at heart. Lover of running, blogging, and all things cheeeeese. Early 40s, married mother of twins, and working in academia. Currently working toward financial independence with the goal of (hopefully!) retiring early at 50.
So adorable! Your girls and art!
Be sure you write the date on the back of the artwork – I love looking back at my kids artwork and am glad I dated them. You think you’ll never forget, but you will:)